

How To Build Your Own Vape Coils: A Primer On Everything You Need To Know
Fancy building your own vape coils? Good for you! Coil Building is the art in which you build your own coil put it in your RDA, RTA or RBA, wick it and thus create your own, bespoke coil.
>>> Click Here To Go Straight To The Guide…
A LOT of vapers now do this. And the reasons why are myriad; some prefer the flavor, others enjoy the craft. Any cloud-chaser worth their salt will almost certainly build their own coils — this is the only true path to truly GIGANTIC cloud plumes.
It’s also A LOT cheaper than buying pre-made coils from vape brands like SMOK for use inside a sub-ohm tank. Like, $40-$50 a month cheaper, which is pretty significant.
Building your own coils is far cheaper than buying prebuilt coil heads, but it is slightly tricky to do, requires care and attention, and if not done correctly can be rather dangerous.
You NEED to understand Ohm’s Law, for instance, and you NEED to be confident with a set of tools.
You can also buy your coils pre-made if you can’t be bothered with the hassle of making your own.
I would highly recommend that you check out our post on Ohm’s Law before going any further.
Once you’ve done that and you’re fully versed in the way of Ohm’s — don’t worry, it’s not too difficult to understand — you’re ready to begin your adventure into the world of coil building.
Coil Building Video Guide
Watch this video; it will show you exactly how to build coils.
Once you’ve done this, read on for our guide to ALL the kit you’ll need to get started.
How To Build Your Own Vape Coils: Wires
I want to start off with the different wire sizes that will be available to you when you decide to build your own coils.
You will have the choices of the following types of wire: 22g, 24g, 26g, 28g, 30g, 32g, and 34g wire.
The “g” stands for gauge.
All these wires are available in Kanthal and other wire types suitable for vaping but for this article, I will only be discussing Kanthal, as this is just a beginner’s guide.
Your Ohm’s resistance will vary based on each individual wire, how many wraps and what size tool you are wrapping your wire around.
There are many, many different coil options when building your own and finding one that suits you will take some trial and error but it is well worth the time and effort.
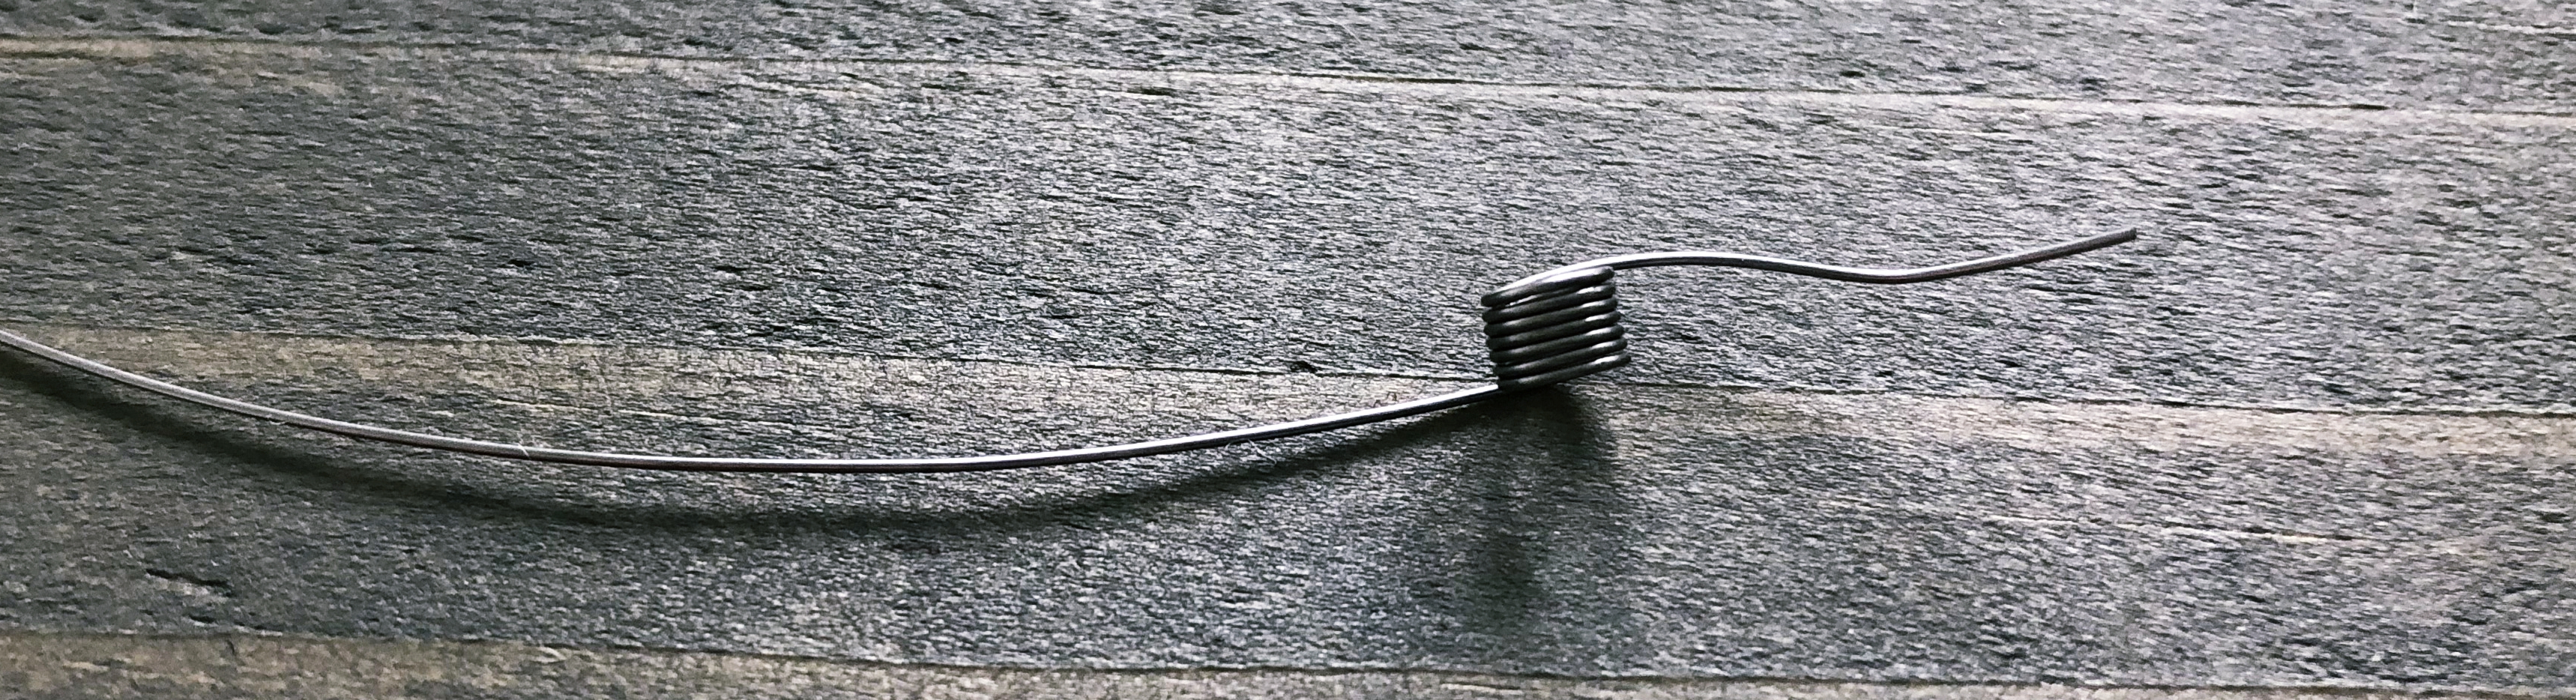
Below I will list an example of a coil that I used for the longest time and still use regularly as it is simple, straightforward and very easy — with a bit of practice — to build from scratch.
A 24g 6 wrap over a 2.5mm tool/screwdriver. I do two of these coils and my Ohm’s end up around .3ohms, which is a perfect balance of flavor, cloud production, and battery life.
There are A LOT and I really do mean A LOT of different types of coils that you can build but for the beginner’s sake, I will only mention four.
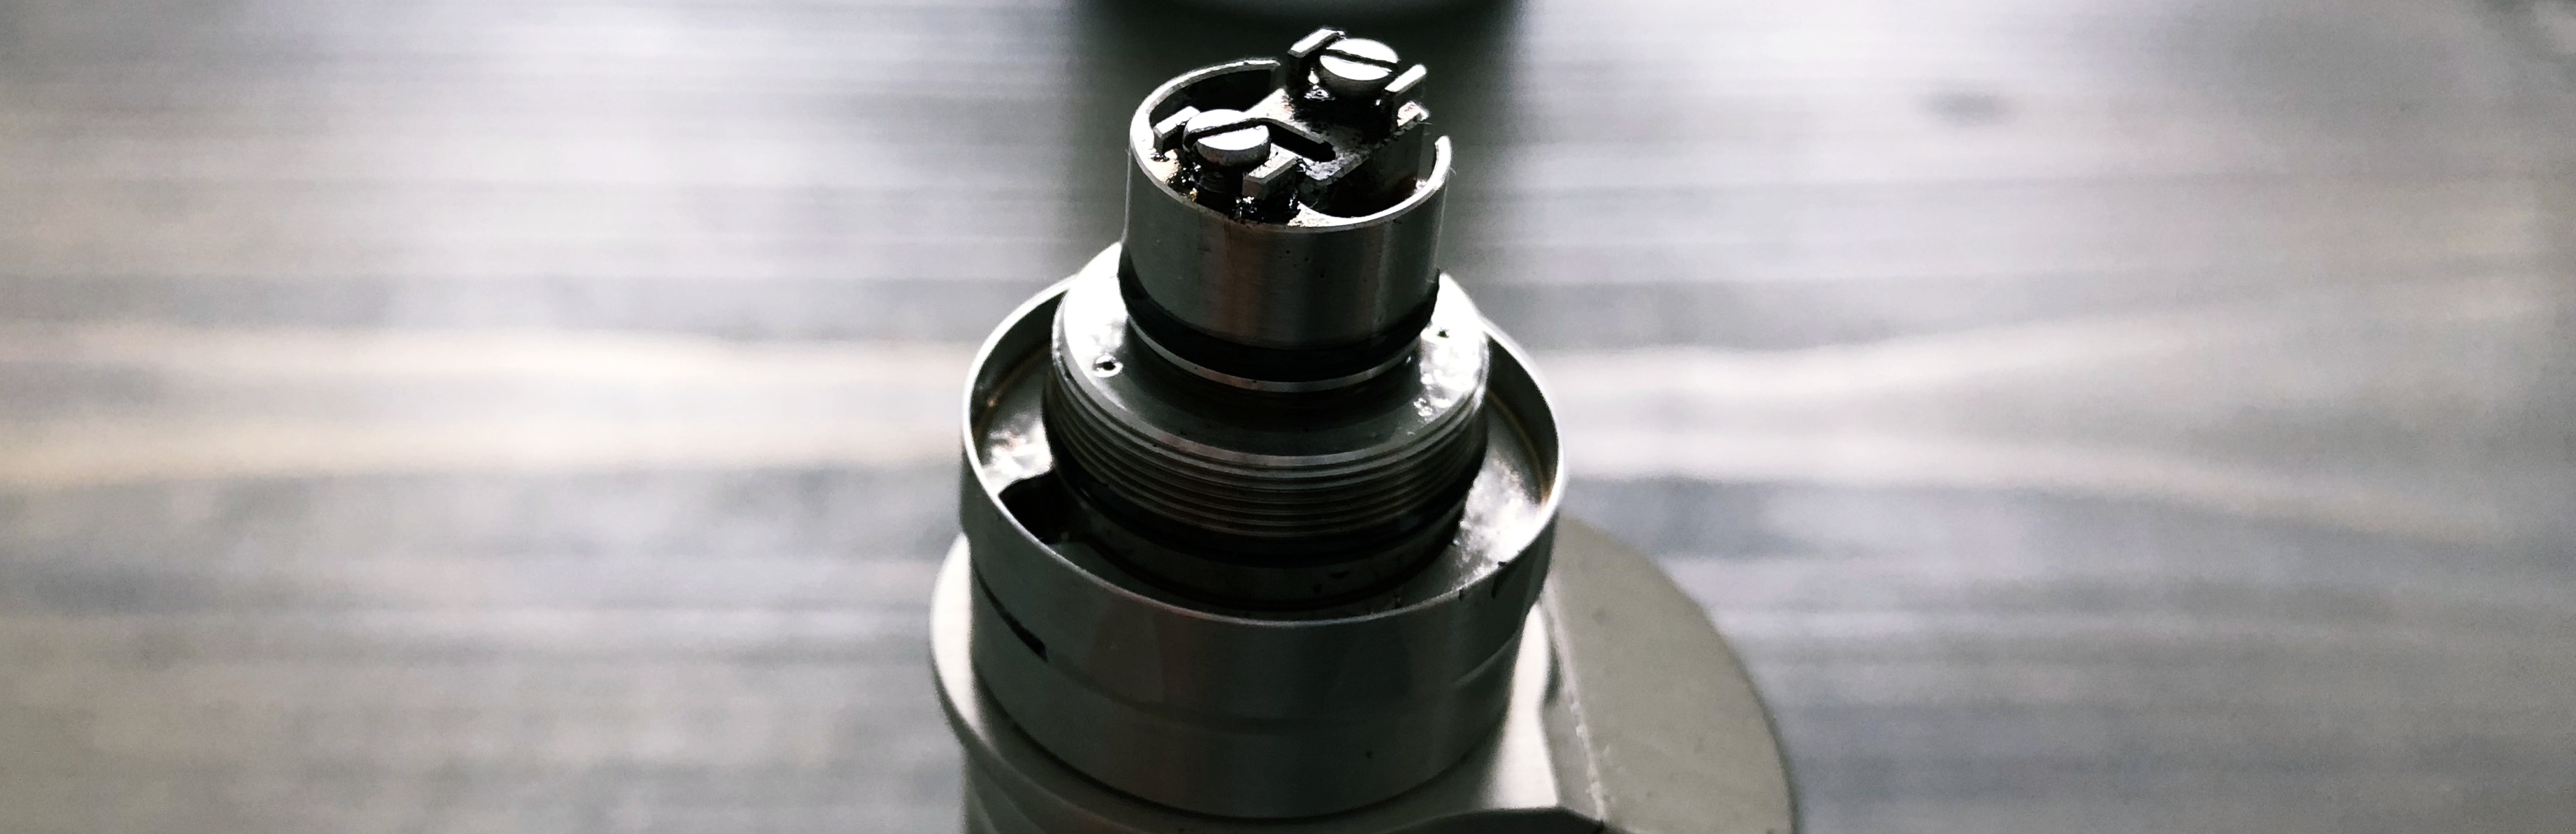
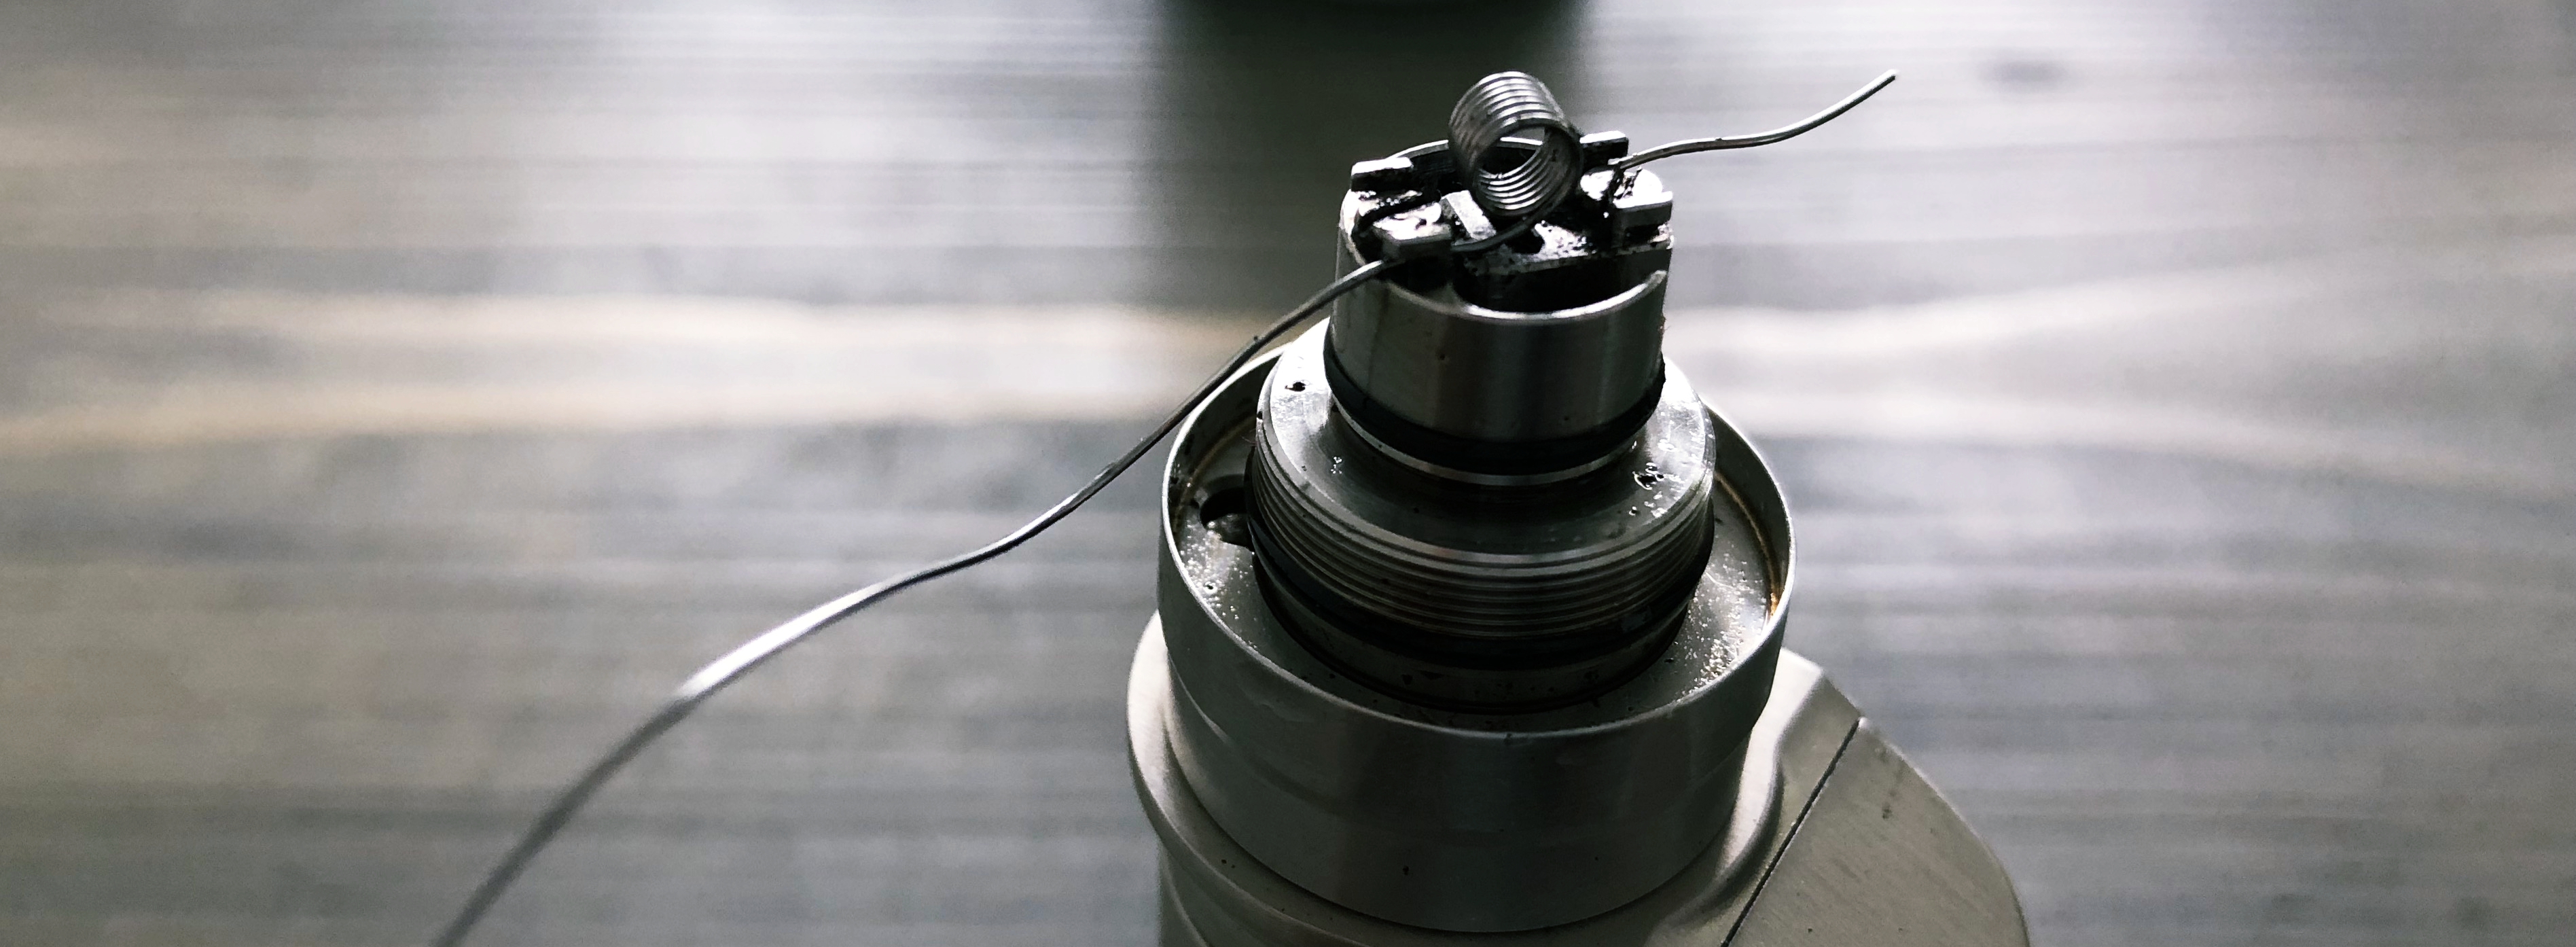
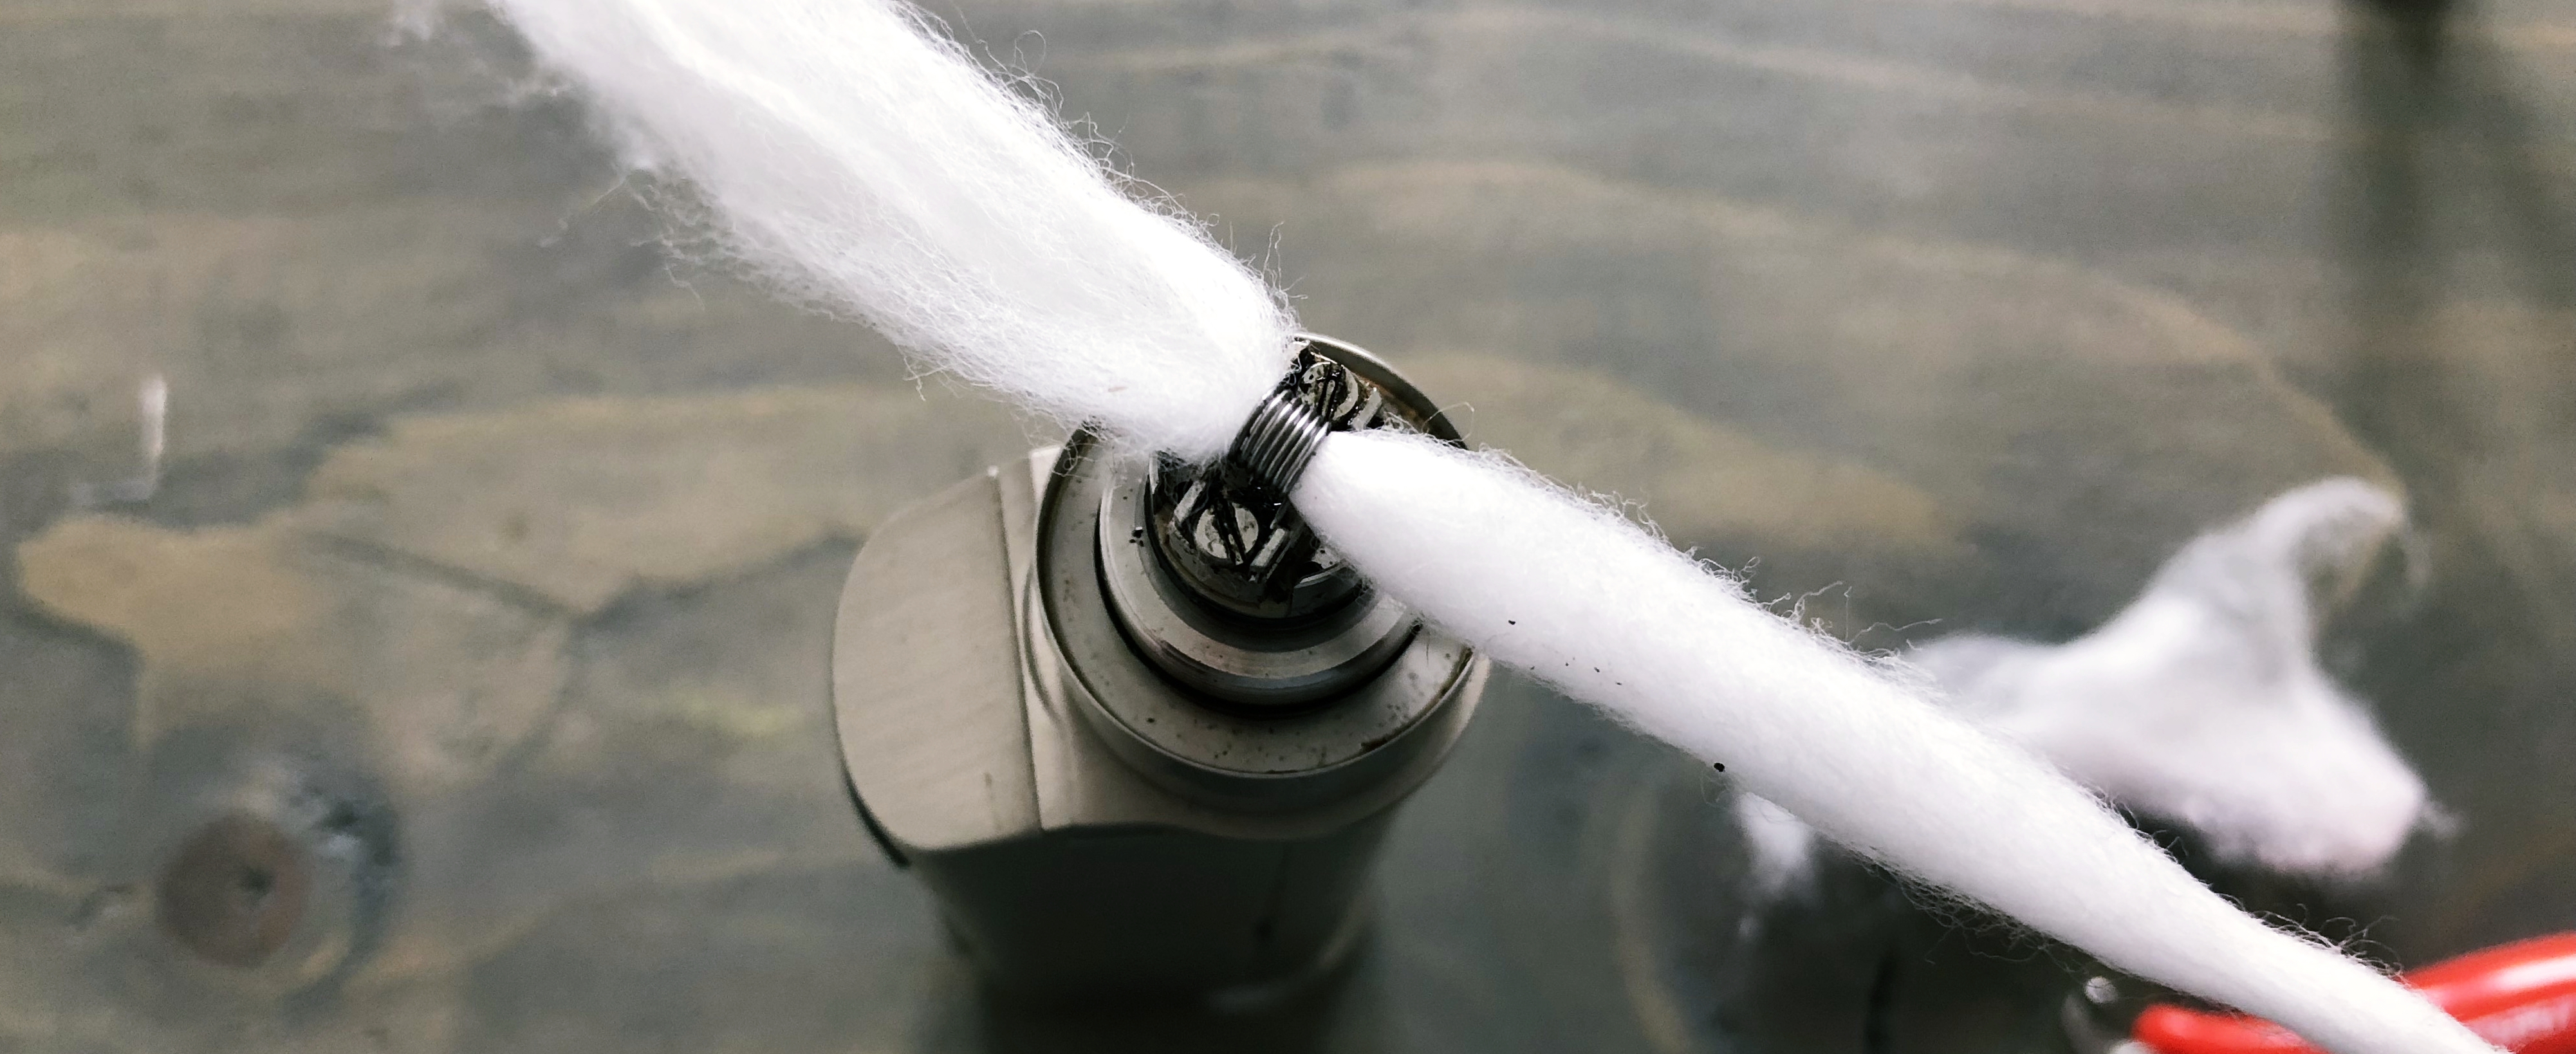
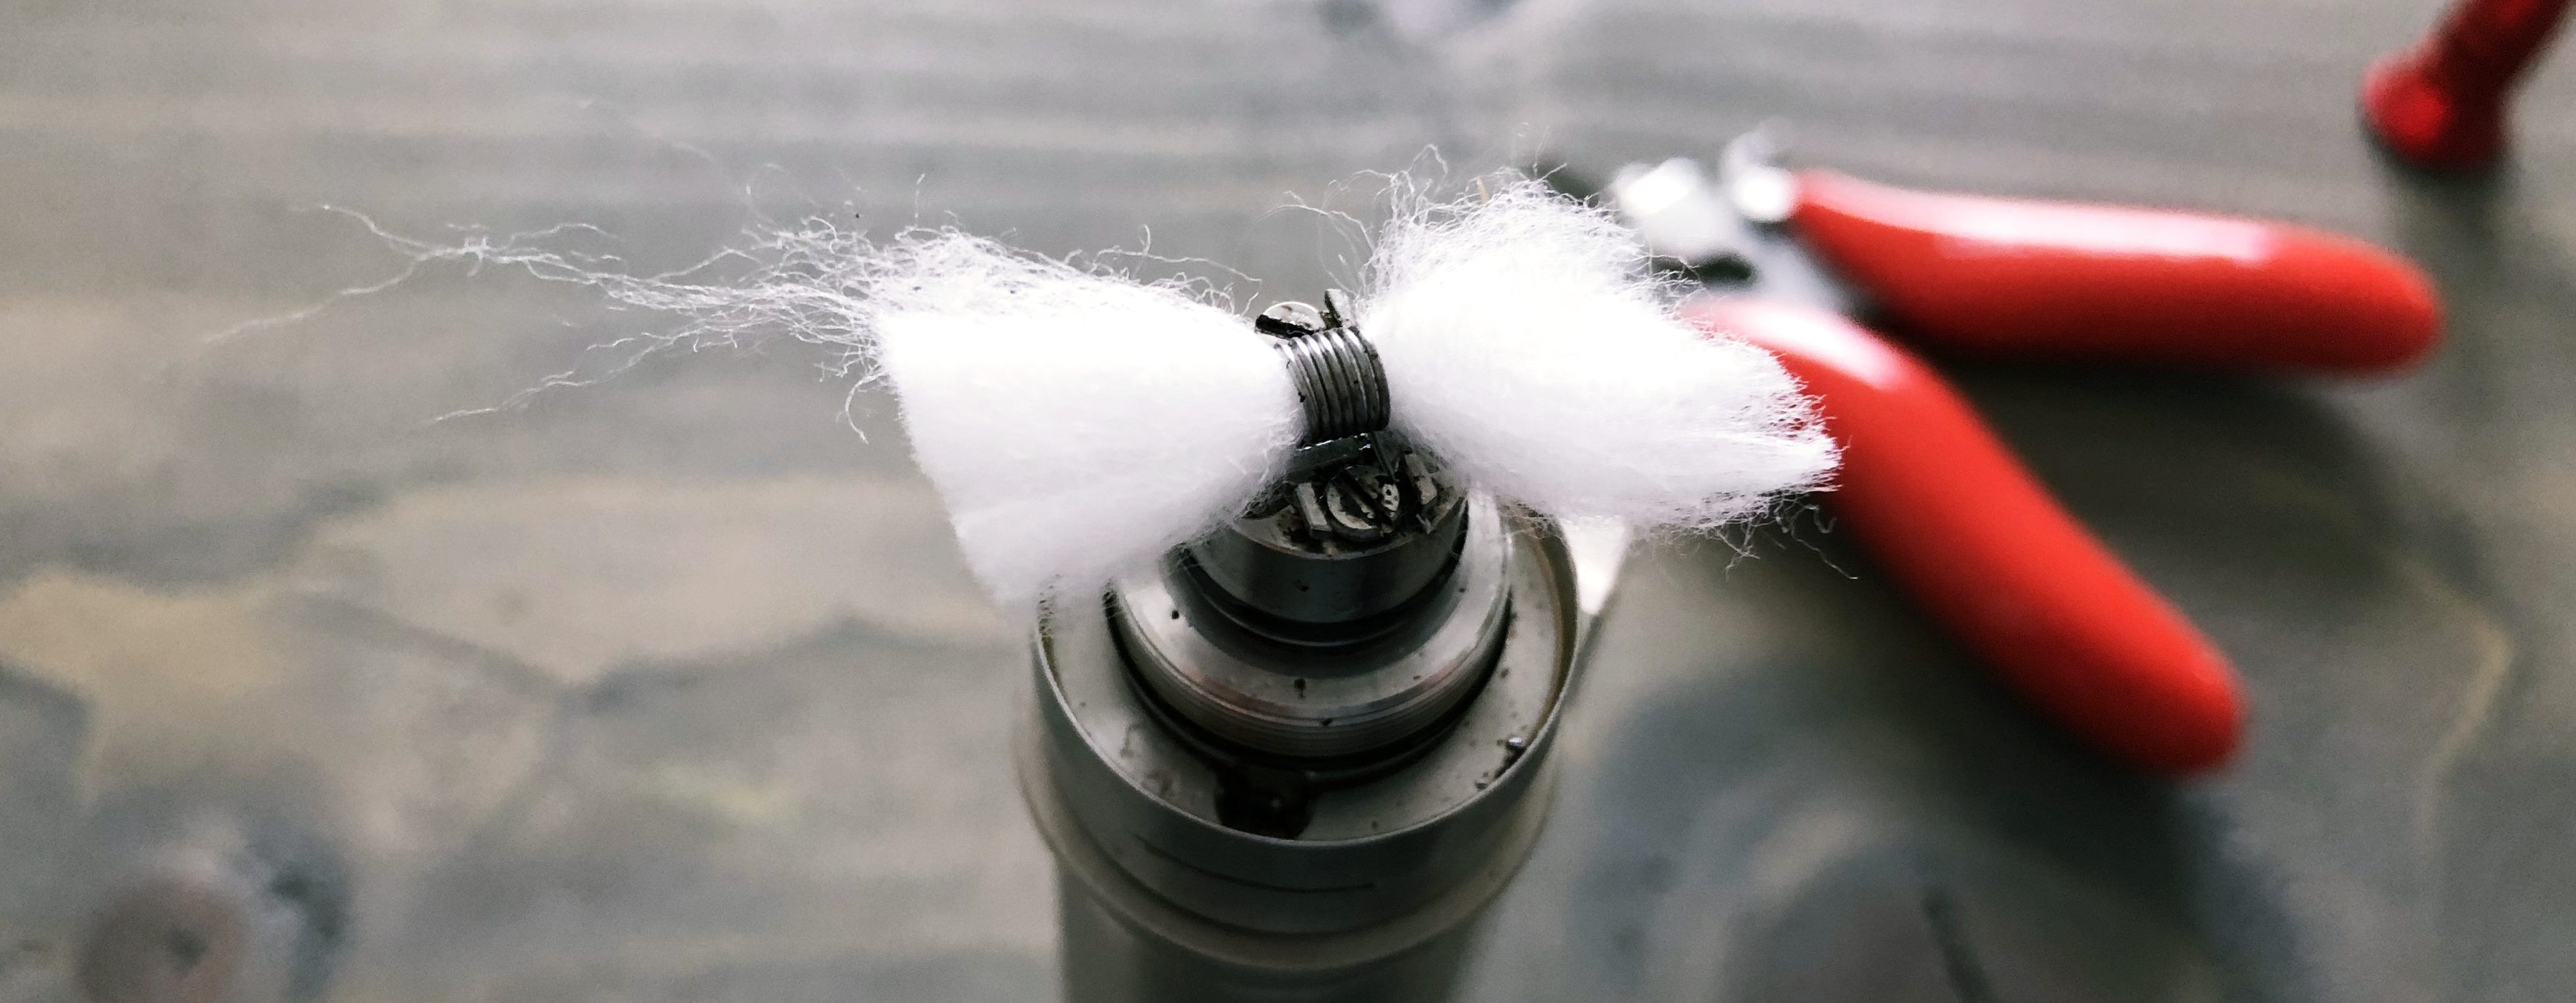
- Single Coil: You cut yourself about a 4-6inch piece of kanthal wire, wrap to your preferred wraps, install your coil onto your RDA, RTA or RBA, make the needed adjustments, wick your coil, saturate your coil with your eliquid and you’re all good to go.
- Dual Coil: Usually people go to this build after they feel comfortable doing the single coil build. This coil is done the exact same way as the single coil but twice, as you are going to now have two coils instead of the one coil.
- Twisted Coil: To do a Twisted Coil build you will need two pieces of Kanthal cut at approx 1 foot, a powered drill, a pair of pliers and your coil wrapping tools. I won’t go into detail on how to do this coil as it is much easier to just watch the video below. After you have your Twisted Coil setup you then do the same thing as you did with the Dual Coil and you are all set to go vaping.
- Clapton Coil: This one is the hardest out of all four that are listed. This coil takes a lot of patience and a bit more time than even the Twisted Coil but once you have done a few Clapton Coils then you will be faster. In addition to being faster, you will get great flavor and cloud production from the Clapton. You install a Clapton the same as the other coils.
There are a lot of different kits and tools for building your coils. Everything from a precision screwdriver and pliers to more easier tools like a coil jig.
How To Build Your Own Vape Coils: The Tools You’ll Need
To start building your own coils from scratch, you’ll need to following items.
- Fingernail clippers/thin wire cutter
- Precision screwdriver set
- Kuro Koiler Tool (which I suggest)
- A pair of scissors for cutting your cotton
- An Ohms Reader is recommended but not required if you are using a regulated mod
- Kanthal Wire
- Organic Cotton
- Needle Nose Pliers
- Flat Nose Pliers
This is what I use and all the stuff is readily available online.
If you want to get ALL of the above inside one kit, I recommend the Coil Master DIY KIT (V3).
This is what I have used for the past 18 months, and it has never missed a beat.
You get literally everything (and more) than you need to make solid, vape-friendly coils.
Recap…
The process of building your own coils is very simple and easy to do once you get a few coils under your belt.
The key here is practice. Practice ALWAYS makes perfect.
And DO NOT forget to use decent cotton.
My personal go-to is Cotton Bacon – I’ve used this stuff for years. It’s fantastic.
And remember: even if you SUCK at building your own coils, you can always buy them pre-made.
This will ensure perfect builds and resistances every time. I use these ones mostly, as they’re inexpensive and work great.
Also – you might want to check out our helpful guide on wicking, which features an array of tips, tricks and best practices for making the best possible wicks for your RDA, RDTA or RTA.
Should you have any questions or concerns please feel free to comment below and I will try to help you the best that I can.