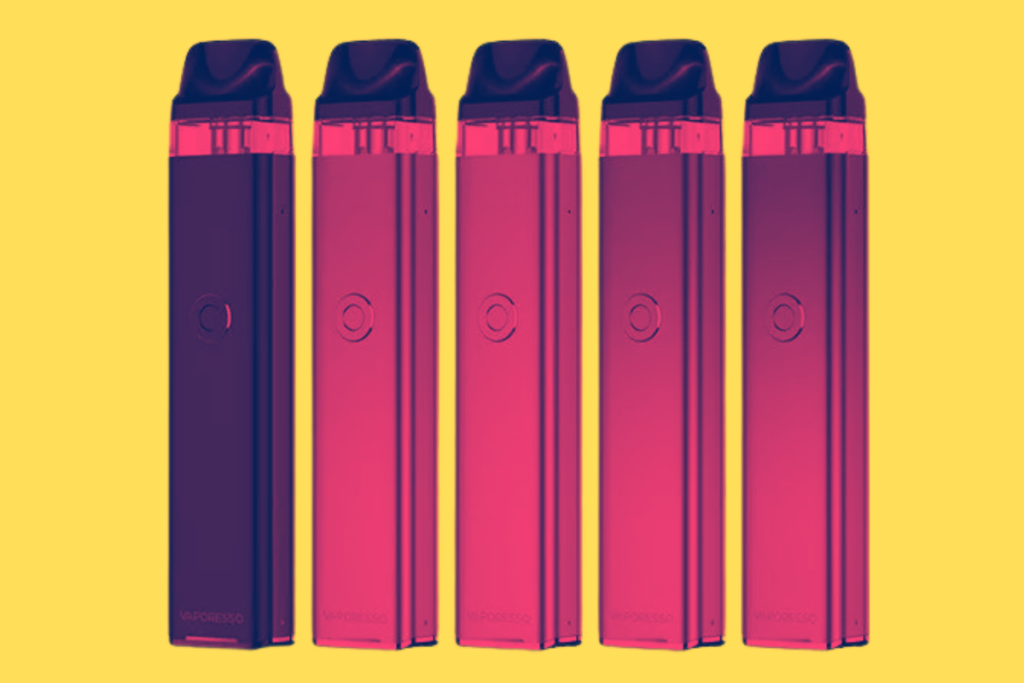
If you’ve had the pleasure of trying out Geekvape’s boost coils before, the exceptional performance of the Geekvape AP2 Vape Kit won’t come as a surprise.
I believe that anything from GeekVape is really good, these coils are simply fantastic, and what’s even better, they tend to outlast your expectations.
And if you’re new to vaping, you’re in for a treat because the GeekVape AP2 Vape Kit features a user-friendly auto-draw option. No need to fuss with a fire button – it’s all about simplicity.
Oh, and the feel of this kit in your hand is just right. It’s comfortable and well-designed. Trust me; you’ll want to make this your vaping companion for the long haul.
Specifications
- Product Size: 35.0 x 17.5 x 90.0mm
- Output Wattage: 10 to 17W
- Display: LED Indicator
- E-liquid capacity: 4.5ml (standard) / 2ml TPD
- Output Modes: Smart Wattage, with 3 options
- Charging: Type-C, 5v
- Resistance range: 0.4 to 3.0ohm
- Battery: 900mAh
- Pods: Refillable replaceable coils
- Coils: G-Series coil range
- Tri-Proof IP67
- Adjustable airflow – 2 settings MTL or DTL
- Safe lock function
- Side fill port
Versatility of GeekVape AP2 Coils
This kit offers compatibility with the Voopoo TPP Coil series, providing a range of options to suit your preferences. Let’s dive into the specifics of these remarkable coils:
- GeekVape 0.6 Ohm G Coils (13 – 18W): These coils are ideal for those who enjoy bigger clouds and more intense flavor. They’re perfect for vapers who prefer a slightly warmer and more robust vaping experience.
- GeekVape 0.8 Ohm G Coils (12 – 15W): Striking a balance between vapor production and flavor, these coils offer a versatile vaping experience that caters to a wide range of preferences.
- GeekVape 1.0 Ohm G Coils (10 – 12W): If you savor a flavorful mouth-to-lung (MTL) experience, these coils are tailored for you. They provide a smooth and satisfying draw, reminiscent of traditional cigarette inhales.
- GeekVape 1.2 Ohm G Coils (9.5 – 11.5W): These coils offer a slightly tighter draw, perfect for replicating the sensation of traditional smoking. If you prefer a more restricted MTL experience, these coils are a great choice.
- GeekVape 1.8 Ohm G Mesh Coils (7 – 9W): Delivering a smooth and consistent vape, these coils are designed for all-day use. They offer a comfortable and enjoyable MTL vaping experience, suitable for a wide range of e-liquids.
Now, what’s really interesting is the two coils that come with this vape device. There’s a 0.8ohm and a 0.6ohm, and usually, one of them is already preinstalled when you unbox the Geekvape AP2 Vape Kit.
And if you’re feeling a bit adventurous, you can go ahead and install a 1.2ohm coil. Just a heads up, though, this one’s not included in the package. It’s a bit tighter in terms of draw compared to the 0.8ohm coil. But it’s always nice to have options, right?
The best part? The wattage settings are kind of like magic; they automatically adjust based on which coil you install. So, you don’t need to stress over fiddling with the device’s settings.
Guide to Coils Replacement

The Aegis Pod 2 device simplifies your vaping experience with a single multifunctional button:
- Firing Button: Press and hold to power the device.
- Safety-Lock: A quick press of the button five times locks the device, with the logo flashing white-blue-green. You can still use inhale activation and auto-draw capabilities in this mode.
- 3 Output Levels: Press the button three times quickly to explore three different output adjustment levels, with the logo providing status indications for both battery and output level.
How to Replace the Coil
- Remove the pod
- Using the included coil tool or your fingertips, pull the coil from the bottom of the pod
- Pod cleaning (optional)
- Prime the coil by dripping a few droplets of Vape flavor into the wicking holes
- Insert cord into pod
- Set aside for 10 minutes
How to Refill Coil
The GeekVape AP2 pods hold 2ml of e-liquid and feature a practical leak proof design. These pods are compatible with the range of GeekVape G coils, offering you a wide array of options to tailor your vaping experience. For optimal results, we recommend using Nic Salts, 50/50, and High PG e-liquids with this device.
The side fill port makes refilling your e-liquid a straightforward task:
- Remove the silicone stopper on the side of the pod to reveal the filling port.
- Insert the nozzle of your e-liquid bottle into the filling port and squeeze in up to 2 ml of e-liquid.
- Firmly press on the silicone stopper to seal the pod.
- Now, you’re all set and ready to vape!
Performance and User Experience
Flavor Quality
I’ve been loving the AP2 pod’s capacity – it holds a generous 3.5mL of e-liquid, which is more than enough to keep me going. It’s got a darker tint, but it’s surprisingly easy to check how much liquid is left inside.
The mouthpiece is clearly designed for sub-ohm vaping, thanks to its flat and thick shape. Interestingly, there’s no magnet keeping the pod and the device together. Instead, GeekVape AP2 has added a tiny bump to ensure a super snug connection. In fact, they’re so tightly connected that taking them apart or popping them back in takes a bit of effort.
As for the coils, they’ve both been pretty darn impressive, delivering a vaping experience that lasts. Choosing between the 0.6ohm and the 0.8ohm coils really depends on your personal taste. Surprisingly, they perform remarkably well in both mouth-to-lung (MTL) and restricted direct lung (RDL) setups.
Coil Longevity
The overall vaping experience with the GeekVape AP2 has been consistently satisfying. It doesn’t matter if I’m in the mood for a direct lung (DL) inhale or a more traditional mouth-to-lung (MTL) draw – the flavor always shines.
I’ve even managed to produce some decent clouds when I’m going for a DL setup. Just remember, the AP2 is a compact pod, so it’s not built for massive, billowing clouds, but it’s perfect for a solid and flavorful vaping experience.
Tips for using coil
Here are the tips for using coils effectively, focusing on wattage and temperature settings, as well as coil priming and maintenance. Let’s dive right in!

Wattage and Temperature Settings
- Start in the Suggested Range: When you first install a new coil, always begin within the recommended wattage or temperature range provided by the manufacturer. This ensures you’re not overloading the coil right from the start.
- Experiment and Find Your Sweet Spot: After starting within the suggested range, don’t be afraid to experiment. Adjust the wattage or temperature up or down in small increments to find the setting that delivers the best flavor for you.
- Watch for Dry Hits: If you start getting dry hits or burnt taste, it’s a sign that your wattage or temperature might be too high for the coil. Reduce it until the flavor is back to being enjoyable.
Coil Priming
- Don’t Rush It: When installing a new coil, always take your time to prime it properly. Drip a few drops of e-liquid directly onto the coil’s exposed cotton and wait a few minutes to allow the liquid to saturate the wicking material.
- Visual Check: If your coil has visible wicking holes, make sure the cotton inside is soaked. It should look wet, not bone dry. This simple visual check can save you from an unpleasant first puff.
Coil Maintenance
- Check for Gunk: Keep an eye on your coils for any buildup of gunk or residue. If you notice a significant decrease in flavor or vapor production, it might be time for some coil maintenance.
- Gently Dry Burn: If your coil isn’t too far gone, you can gently dry burn it to remove some of the gunk. Just fire your device without inhaling a few times until the coil glows, then let it cool.
- Clean and Rewick: For rebuildable coils, consider cleaning and rewick them if you notice a drop in performance. Remove the old cotton, dry burn the coil to remove gunk, let it cool, and then insert fresh cotton.
So there you have it – some handy tips for making the most of your coils. Experiment with your wattage and temperature settings, prime your coils patiently, and keep an eye on their maintenance.
I’ve found it particularly handy for keeping in my rucksack on outdoor adventures – it’s compact and lightweight, making it ideal for days out. I don’t have to stress about it weighing me down or taking a tumble in the great outdoors.

Now, here’s where I see room for improvement. The coils are good, no doubt, but a little tweaking could potentially elevate the flavor. And let’s talk about the color variants – they’re not all my cup of tea, but hey, that’s subjective. You might just love them!
For me, airflow is a deal-breaker, and not having the flexibility to fine-tune it to my specific preferences is a bit of a drawback.
Have you picked up the Geekvape Aegis Pod 2 kit? Tried it out? Or perhaps you’ve got some questions? Share your thoughts in the comments below. I’m curious to hear your experiences and any tips you might have!


Leave a Reply