

If you want your PAX 3 to function optimally, you need to dial-in a basic maintenance routine. Here’s everything you need to know about how to clean your PAX 3…
Keeping your Pax 3 vaporizer clean is essential for maintaining its performance and ensuring a smooth vaping experience.
By regularly cleaning your Pax 3, you can prolong its lifespan and avoid any potential issues that may arise due to buildup and residue.
The PAX 3 is simple to use and it is also fairly simple to clean too, once you know the basics.
In this article, we will guide you through the process of cleaning your Pax 3 vaporizer easily and effectively.
PAX 3 Step-by-Step Cleaning Guide
Now that you have gathered the necessary cleaning supplies, let’s dive into the step-by-step cleaning process for your Pax 3 vaporizer.
Pre-Cleaning Preparations
Before you begin cleaning your Pax 3 vaporizer, make sure to follow these pre-cleaning preparations:
- Ensure that your Pax3 is turned off and has cooled down completely.
- Remove the mouthpiece and empty any leftover herbs from the heating chamber.
- Detach the oven lid and set it aside.
- Inspect the vapor path for any visible residue or buildup.
Detailed Cleaning Process
Follow these steps for a detailed cleaning of your Pax 3 vaporizer:
- Using a cleaning brush or cotton swab, gently scrub the heating chamber and remove any residue.
- Wipe the oven lid with a clean cloth or cotton swab to remove any debris or buildup.
- For the vapor path, dip a cleaning brush or cotton swab in isopropyl alcohol and gently scrub the pathway to remove any residue.
- Soak the mouthpiece in isopropyl alcohol for a few minutes, then rinse it with warm water and allow it to dry completely.
Post-Cleaning Maintenance
To ensure the longevity of your Pax3 vaporizer, here are some post-cleaning maintenance tips:
- After each session, remember to empty the heating chamber and clean any debris.
- Periodically inspect and clean the oven lid and mouthpiece to prevent any residue buildup.
- Store your Pax 3 vaporizer in a clean and dry place to avoid exposure to moisture.
Understanding Your Pax 3 Vaporizer

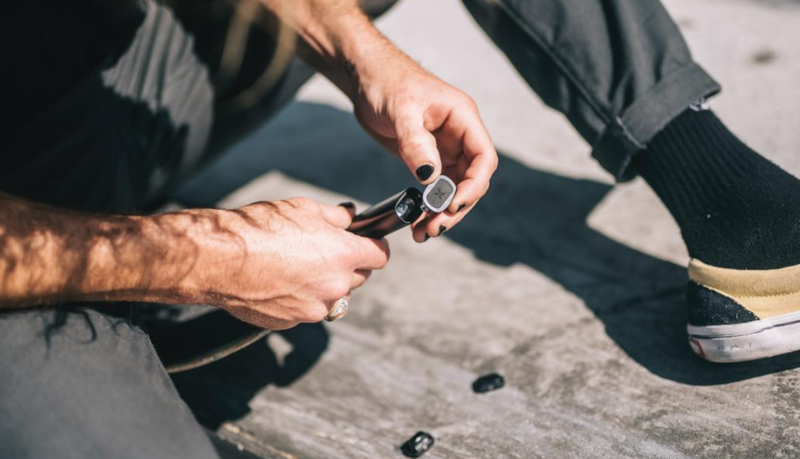
If you’re not feeling confident about cleaning your PAX 3 or you’re worried you’ll break it, I get it — the PAX 3 is expensive, so getting acquainted with all of its parts and components is the quickest way to remove any worries.
Let’s take a moment to understand the different components of the Pax 3 vaporizer and their importance in the overall functionality of the device. The Pax 3 consists of several key components that work together to heat your herbs and produce vapor.
Key Components of the Pax 3 Vaporizer
The Pax 3 vaporizer is composed of the following key components:
- The heating chamber: This is where you place your herbs for vaporization.
- The mouthpiece: The mouthpiece is the part that you inhale vapor from.
- The power button: This is used to turn the device on and off and control the temperature.
- The oven lid: The oven lid covers the heating chamber and helps to maintain proper temperature and airflow.
- The vapor path: The vapor path is the pathway through which the vapor travels from the heating chamber to the mouthpiece.
Now, let’s take a closer look at each component and understand their individual functions:
The Heating Chamber
The heating chamber is the heart of your Pax 3 vaporizer. It is specifically designed to evenly heat your herbs, allowing them to release their active compounds in the form of vapor.
The chamber is made from high-quality materials that ensure efficient heat transfer and prevent any unwanted flavors from contaminating your vapor.
The Mouthpiece
The mouthpiece is the interface between you and the vapor. It is ergonomically designed to provide a comfortable and enjoyable vaping experience. The mouthpiece is made from food-grade materials that are safe to inhale from, ensuring that you can savor the full flavor of your herbs without any concerns.
The Power Button
The power button is your gateway to a satisfying vaping session. With a simple press, you can turn your Pax 3 vaporizer on or off, and control the temperature settings.
The power button is strategically placed for easy access, allowing you to effortlessly navigate through the different temperature options and find your preferred vaping style.
The Oven Lid
The oven lid plays a crucial role in maintaining the optimal temperature and airflow within the heating chamber. It acts as a protective cover, preventing any external elements from interfering with the vaporization process.
The oven lid is designed to fit snugly, ensuring a secure seal that maximizes heat retention and enhances the overall efficiency of your Pax 3 vaporizer.
The Vapor Path
The vapor path is the pathway through which the vapor travels from the heating chamber to the mouthpiece. It is carefully engineered to provide a smooth and uninterrupted flow of vapor, ensuring that every inhalation is pure and flavorful.
The vapor path is constructed with precision, utilizing materials that are resistant to heat and easy to clean, guaranteeing a consistently enjoyable vaping experience.
Importance of Regular Cleaning

Regular cleaning is crucial for maintaining the performance and flavor of your Pax 3 vaporizer. Over time, residue can accumulate on the heating chamber and the vapor path, which can affect the taste and quality of the vapor.
Cleaning your Pax 3 regularly ensures that you enjoy a clean and pure vaping experience every time.
By cleaning your Pax 3 vaporizer, you remove any buildup of residue, ensuring that the heating chamber and vapor path are free from any contaminants.
This not only improves the flavor of your herbs but also enhances the efficiency of the vaporization process.
Regular cleaning also helps to extend the lifespan of your device, as it prevents any potential clogging or damage caused by neglected maintenance.
When cleaning your Pax 3, it is important to use the recommended cleaning tools and solutions provided by the manufacturer.
These tools are specifically designed to effectively remove any residue without causing any damage to the components of your vaporizer.
Following the manufacturer’s cleaning instructions will ensure that you achieve optimal results and maintain the longevity of your Pax 3 vaporizer.
Remember, a clean Pax 3 vaporizer is a happy Pax 3 vaporizer. So, make it a habit to clean your device regularly and enjoy the full potential of your vaping experience!
Gathering the Necessary Cleaning Supplies
Before you start the cleaning process, it’s important to gather the necessary cleaning supplies. Having the right tools and products will ensure that you can effectively clean your Pax 3 vaporizer and maintain its optimal performance.
Let’s explore some additional details about the recommended cleaning products and DIY cleaning solutions that you can use.
Recommended Cleaning Products
When it comes to cleaning your Pax 3 vaporizer, there are a few key cleaning products that are highly recommended.
These products have been specifically designed to tackle the unique cleaning needs of vaporizers, ensuring that you can remove stubborn residue and buildup effectively.
Here are some additional details about the recommended cleaning products:
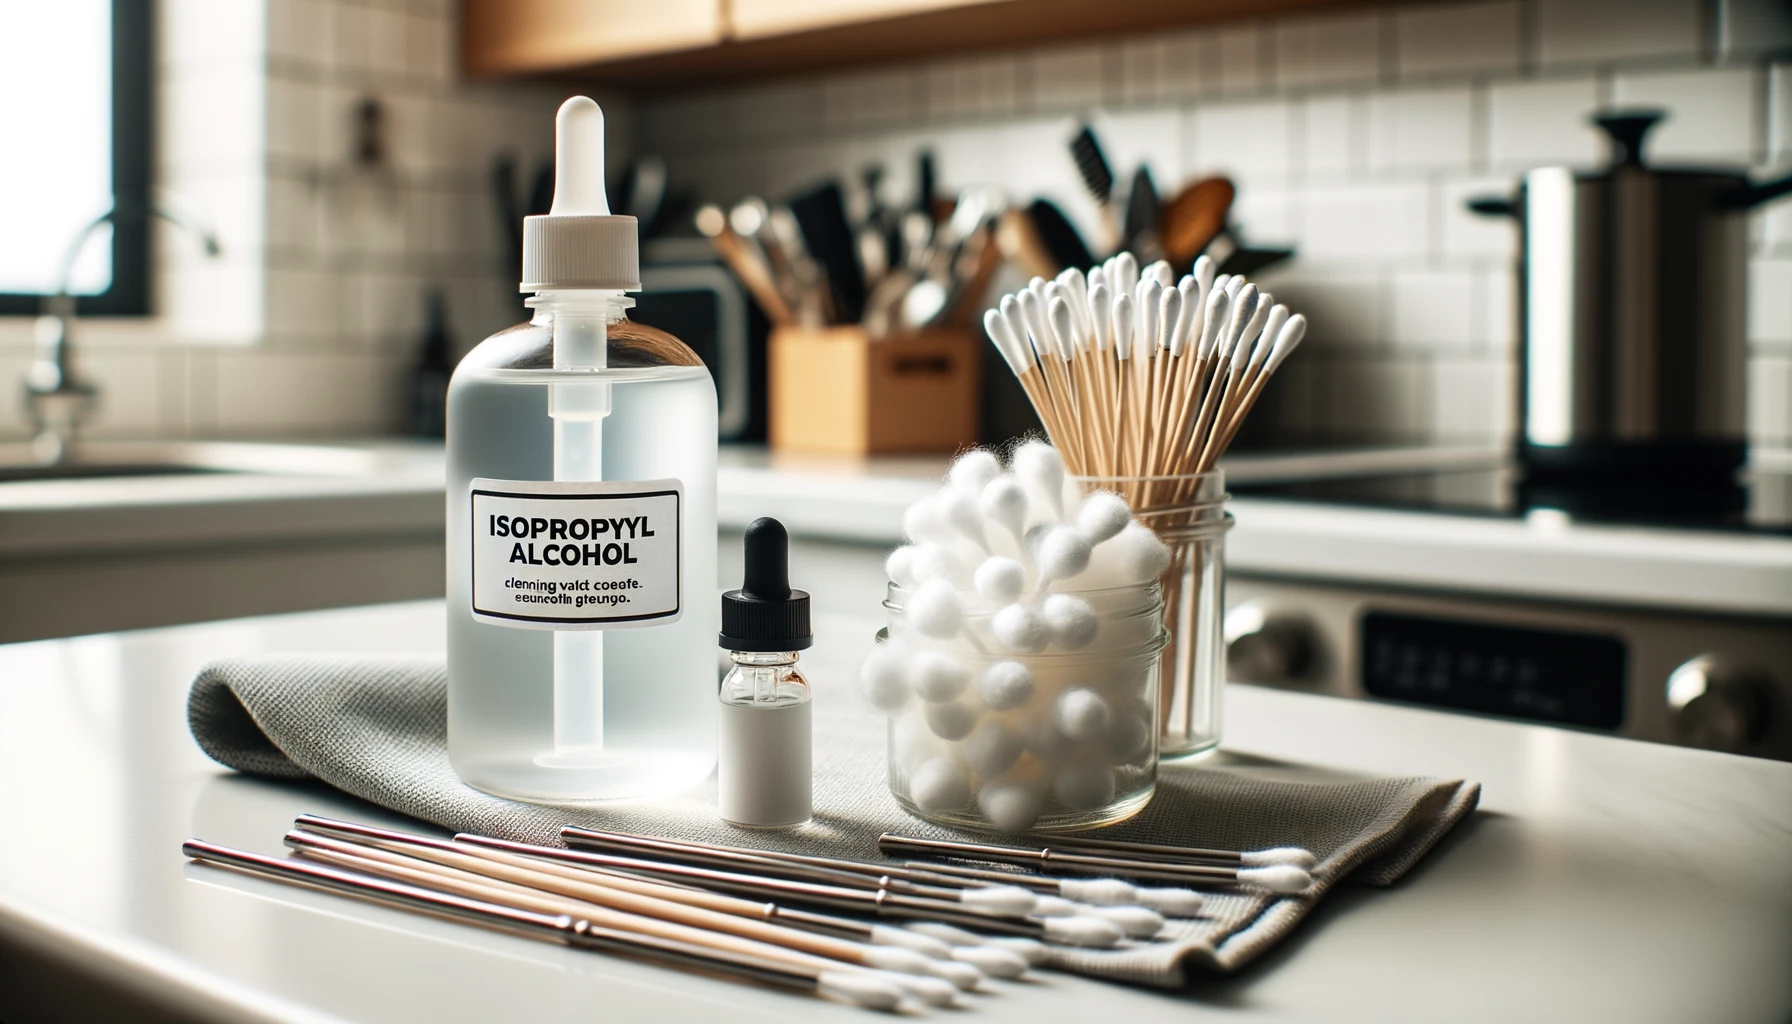
- Isopropyl alcohol: Isopropyl alcohol is an essential cleaning agent for your Pax 3 vaporizer. It is known for its powerful cleaning properties and ability to dissolve and remove tough residue. By using isopropyl alcohol, you can ensure that your vaporizer is thoroughly cleaned and ready for your next session.
- Cleaning brushes: Cleaning brushes with soft bristles are highly recommended for cleaning your Pax 3 vaporizer. These brushes are designed to reach and clean the hard-to-reach areas of your vaporizer, such as the oven chamber and airpath. The soft bristles ensure that you can clean these delicate parts without causing any damage.
- Cotton swabs: Cotton swabs are another useful tool for cleaning the smaller components of your Pax 3 vaporizer. They are perfect for cleaning the mouthpiece, oven lid, and other intricate parts that require precision cleaning. The absorbent nature of cotton swabs allows you to effectively remove any residue or buildup in these areas.
DIY Cleaning Solutions
If you prefer to use DIY cleaning solutions, there are a few options that you can try. These homemade solutions are not only cost-effective but also environmentally friendly.
Here are some additional details about the DIY cleaning solutions:
- Vinegar and water solution: Mixing equal parts vinegar and water creates a natural cleaning solution that can effectively clean your Pax 3 vaporizer. Vinegar is known for its antimicrobial properties, making it a great choice for disinfecting your vaporizer. This solution can help remove residue and odor, leaving your vaporizer fresh and clean.
- Baking soda paste: Creating a paste by mixing baking soda with a small amount of water can be a game-changer when it comes to cleaning stubborn residue. The abrasive nature of baking soda helps to loosen the residue, making it easier to remove. This paste can be applied to the affected areas and left for a few minutes before wiping it away with a damp cloth.
By having these recommended cleaning products and DIY cleaning solutions on hand, you can confidently embark on the cleaning process for your Pax 3 vaporizer.
Remember to follow the manufacturer’s instructions and take your time to ensure a thorough cleaning.
Regular maintenance and cleaning will not only extend the lifespan of your vaporizer but also enhance your overall vaping experience.
Troubleshooting Common Cleaning Issues
While cleaning your Pax 3 vaporizer, you may encounter some common issues. Here are a few troubleshooting tips to address them:
Dealing with Stubborn Residue
If you’re facing stubborn residue that is difficult to remove, try the following:
- Soak the affected parts in isopropyl alcohol for a longer duration.
- Use a soft brush or cotton swab soaked in isopropyl alcohol to gently scrub the residue.
- If necessary, repeat the cleaning process multiple times until the residue is completely removed.
Addressing Odor Issues
If you notice any lingering odor even after cleaning your Pax 3, try the following:
- Air it out: Leave your vaporizer in a well-ventilated area for a few hours to allow any residual odor to dissipate.
- Use odor absorbers: Place odor-absorbing materials, such as activated charcoal or baking soda, near your vaporizer to help absorb any lingering smells.
Tips for Prolonging Your Pax3 Vaporizer’s Lifespan
To ensure that your Pax 3 vaporizer lasts for a long time and continues to deliver optimal performance, consider the following tips:
Regular Cleaning Schedule
Stick to a regular cleaning schedule to prevent any residue buildup and maintain the overall cleanliness of your vaporizer. Cleaning your Pax 3 after every few uses is generally recommended.
Proper Storage and Handling
When not in use, store your Pax 3 vaporizer in a safe and secure place. Avoid leaving it in extreme temperatures or exposing it to direct sunlight. Additionally, handle your vaporizer with care to prevent any accidental damage.
Avoiding Common Mistakes
Lastly, be mindful of the following common mistakes to avoid any potential issues with your Pax 3:
- Avoid overpacking the heating chamber, as this can lead to inefficient vaporization and difficulty in cleaning.
- Do not submerge your Pax 3 vaporizer in water or any liquid. This can cause irreversible damage to the device.
- Ensure that all components are completely dry before reassembling your vaporizer.
By following these guidelines and maintaining a regular cleaning routine, you can enjoy a clean and hassle-free vaping experience with your Pax 3 vaporizer. Remember, a clean Pax 3 is a happy Pax 3!